Why Are There Bubbles on Top? Bread Dough Explained)
Introduction
If you’ve ever looked at your bread dough before baking and noticed bubbles forming on the surface, that’s actually a great sign! Those bubbles are evidence that the yeast is active and healthy, producing carbon dioxide as it ferments the dough. Rather than being a problem, bubbles usually indicate that your dough is developing the airy texture that makes homemade bread soft and delicious.
Origin
Yeast-leavened bread has been made for thousands of years, with ancient civilizations discovering that naturally fermented dough produced lighter, more flavorful loaves. Today, modern baker’s yeast continues this tradition by creating the gas bubbles that help bread rise.
Cultural Significance
Across cultures, from rustic European loaves to artisan sourdoughs and everyday sandwich bread, proper fermentation is considered one of the keys to excellent bread. Visible bubbles are often welcomed by experienced bakers as a sign of successful proofing.
Why Do the Bubbles Appear?
The bubbles form because yeast consumes the sugars in the flour and releases carbon dioxide gas. As the dough develops gluten, the gluten traps these gas pockets, causing the dough to expand and creating bubbles on or just beneath the surface.
Common reasons you may see bubbles include:
– Healthy, active yeast.
– Warm proofing conditions.
– Dough that has risen properly.
– High-hydration dough, which tends to show more visible bubbles.
Ingredients (Typical Bread Dough)
– 3 cups (375 g) all-purpose or bread flour
– 1¼ cups (300 ml) warm water
– 2¼ teaspoons (7 g) active dry yeast
– 1 teaspoon sugar or honey
– 1 teaspoon salt
– 1 tablespoon olive oil (optional)
Optional Additions
– Herbs such as rosemary or thyme.
– Garlic powder.
– Seeds like sesame, flax, or sunflower.
– Whole wheat flour for added fiber.
Tips for Success
– Use warm—not hot—water (about 100–110°F / 38–43°C).
– Allow the dough to rise until doubled in size.
– Don’t worry about a few bubbles; they’re a positive sign.
– If very large bubbles appear, gently press the dough down before shaping.
– Avoid over-proofing, which can cause the dough to collapse.
Instructions
1. Mix the ingredients into a soft dough.
2. Knead until smooth and elastic.
3. Cover and let rise until doubled in size.
4. If bubbles appear on top, gently deflate the dough before shaping if necessary.
5. Shape, allow a second rise, and bake until golden brown.
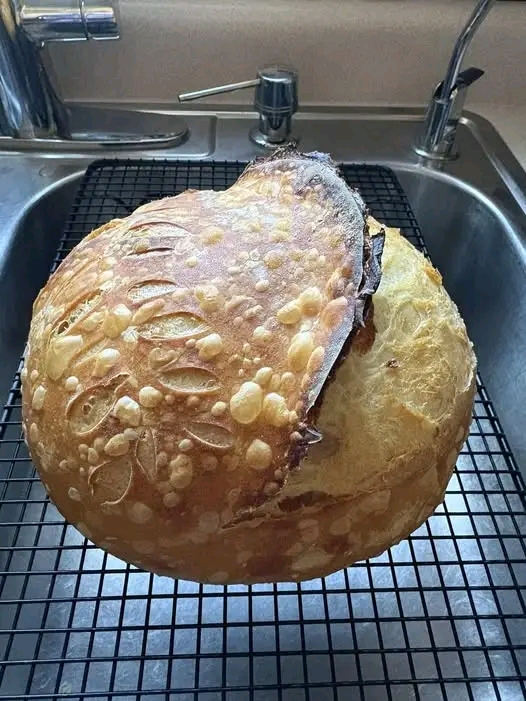
Description
A well-fermented dough with small surface bubbles is typically light, airy, and full of flavor. These bubbles help create an open crumb and a tender texture after baking.
Nutritional Information (Per Slice, Approximate)
– Calories: 130
– Protein: 4 g
– Carbohydrates: 25 g
– Fat: 2 g
– Fiber: 1 g
– Sodium: 180 mg
Conclusion
Bubbles on top of bread dough are usually a sign that fermentation is progressing exactly as it should. They indicate active yeast and proper gas production, which contributes to a lighter, fluffier loaf.
Recommendation
Unless the dough has an unpleasant odor, unusual discoloration, or visible mold, surface bubbles are nothing to worry about. Continue with the recipe as directed and enjoy the results.
Embracing Healthful Indulgence
Homemade bread allows you to control the ingredients while enjoying the satisfaction of baking from scratch. Watching your dough bubble and rise is part of the natural fermentation process that creates wholesome, flavorful bread perfect for sharing with family and friends.