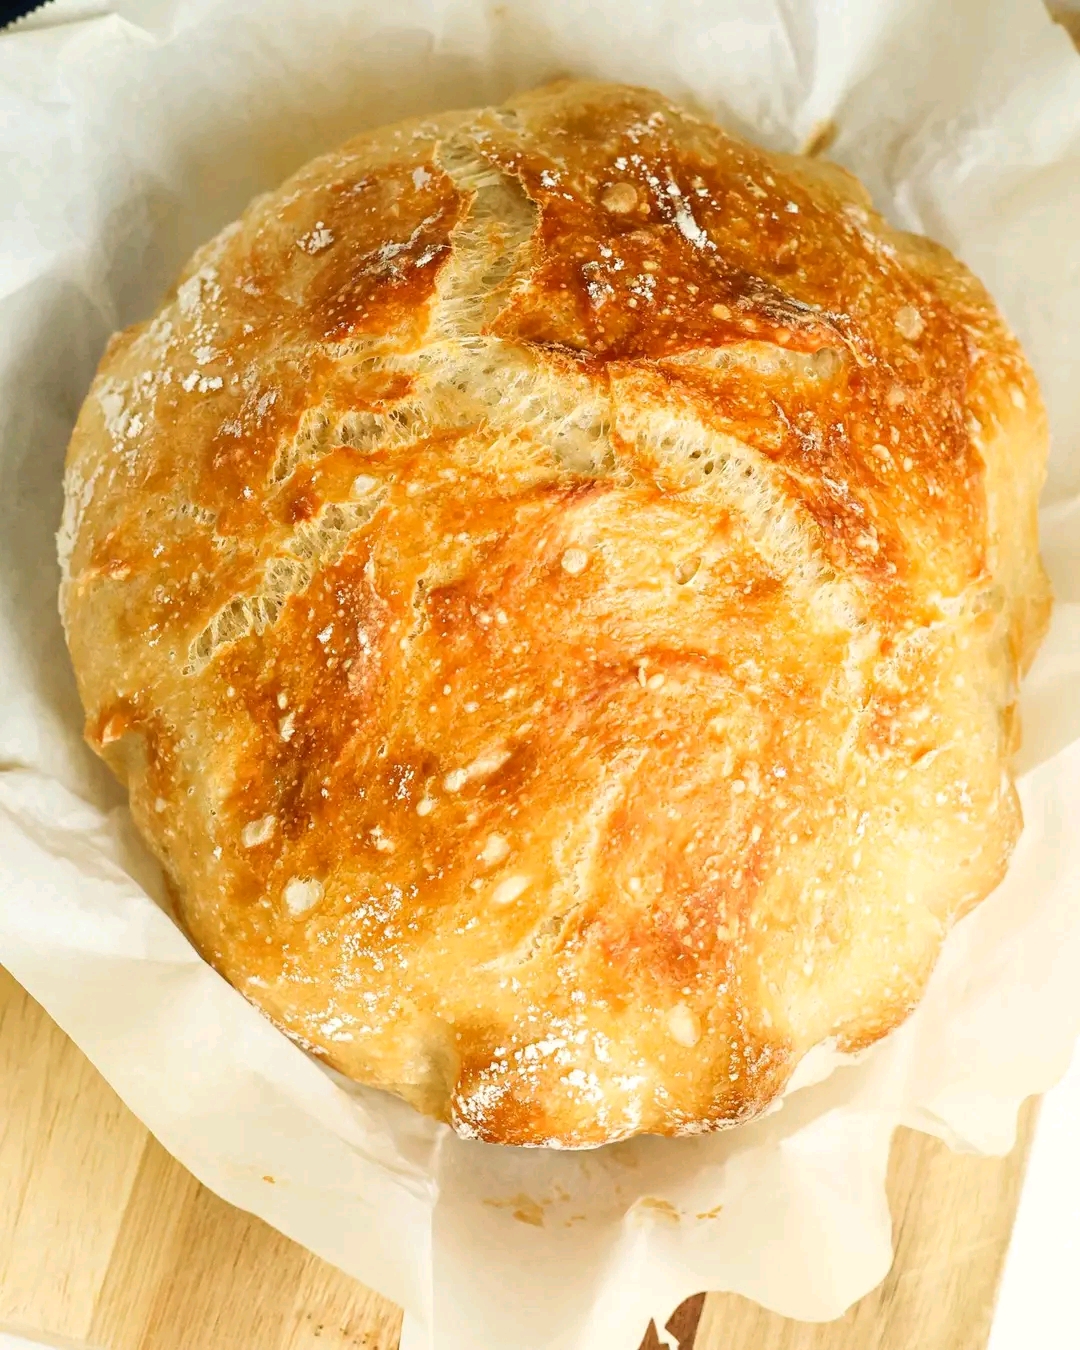
Four-Ingredient No-Knead Bread
Introduction
This four-ingredient no-knead bread is wonderfully simple, making it an excellent choice for beginner bakers and anyone who wants fresh homemade bread without complicated techniques. The dough requires minimal handling, and the long resting time allows the yeast to develop flavor and create a beautifully airy texture.
With a crisp, golden crust and a soft, chewy interior, this bread is proof that homemade baking doesn’t have to be difficult.
Origin
No-knead bread became particularly popular through modern home-baking culture, although the underlying idea—using time rather than extensive kneading to develop dough—is much older.
The technique gained widespread attention in the 2000s through recipes that demonstrated how a wet dough and long fermentation could produce bakery-style bread with very little effort.
Cultural Significance
Bread has been a central part of home cooking across cultures for centuries. Making bread at home is often associated with hospitality, family traditions, and the comforting aroma of freshly baked food.
No-knead bread brings that tradition into a modern, convenient kitchen routine. Its simplicity makes homemade bread accessible even to people who have never worked with yeast dough before.
Ingredients Quantity
Makes 1 Loaf
360 g all-purpose or bread flour
1½ teaspoons salt
¼ teaspoon instant yeast
350 ml lukewarm water
That’s it—just four basic ingredients.
Optional Additions
For a customized loaf, try adding:
1 teaspoon dried rosemary
1 teaspoon dried thyme
2 cloves roasted or finely minced garlic
50–75 g grated Parmesan
1–2 tablespoons sesame seeds
Sunflower or pumpkin seeds
Chopped olives
A handful of chopped walnuts
A teaspoon of honey for a slightly sweeter loaf
Tips for Success
Don’t add too much flour. The dough should be sticky and shaggy rather than firm.
Use a kitchen scale when possible for consistent results.
Allow enough resting time. The slow fermentation is what helps develop the bread’s flavor and structure.
Make sure your yeast is fresh and active.
Preheat the Dutch oven thoroughly before baking.
Be extremely careful when handling a hot Dutch oven and its lid.
Let the finished loaf cool before slicing so the interior can finish setting properly.
Instructions
1. In a large bowl, combine the flour, salt, and instant yeast.
2. Pour in the lukewarm water.
3. Mix with a wooden spoon or spatula until all the flour is moistened. The dough will look sticky and rough.
4. Cover the bowl tightly with plastic wrap or a clean kitchen towel.
5. Let the dough rest at room temperature for approximately 12–18 hours.
6. The next day, the dough should look bubbly and noticeably expanded.
7. Lightly flour a work surface and gently transfer the dough onto it.
8. Fold the dough over itself a few times to form a rough ball. Avoid extensive kneading.
9. Place the dough on a piece of parchment paper and let it rest for about 30–45 minutes.
10. Meanwhile, place a Dutch oven with its lid inside the oven and preheat to 230°C (450°F).
11. Carefully remove the hot Dutch oven.
12. Using the parchment paper as support, place the dough into the Dutch oven.
13. Cover with the lid and bake for 30 minutes.
14. Remove the lid and bake for another 10–15 minutes, or until the crust is deeply golden brown.
15. Carefully remove the bread and place it on a wire rack.
16. Allow it to cool for at least 45–60 minutes before slicing.
Description
The finished loaf has a beautifully crisp, rustic crust and a soft, chewy interior filled with small air pockets. The long fermentation creates a deeper flavor than you might expect from such a short ingredient list.
It’s especially delicious while still slightly warm, served with butter, olive oil, soup, cheese, or your favorite spread.
Nutritional Information
Values are approximate and depend on the flour and serving size.
Per serving, assuming 10 slices:
Calories: approximately 145 kcal
Protein: approximately 4–5 g
Carbohydrates: approximately 30 g
Fat: approximately 0.5–1 g
Fiber: approximately 1–2 g
Sodium: approximately 350 mg
Using whole-wheat flour can increase the fiber content, while reducing the amount of added salt can lower the sodium.
Conclusion
This Four-Ingredient No-Knead Bread is an ideal introduction to homemade bread baking. The process is remarkably simple: mix the ingredients, let time do most of the work, and bake until beautifully golden.
Whether you’re an experienced baker or making your first loaf, this recipe delivers an impressive result with very little hands-on effort.
Recommendation
Enjoy thick slices with butter and jam for breakfast, use them to make sandwiches, or serve them alongside soups and stews.
For an extra-special loaf, try the garlic-and-herb variation with rosemary, roasted garlic, and Parmesan. The aroma alone will make your kitchen feel like a small neighborhood bakery.
Embracing Healthful Indulgence
Homemade bread can be enjoyed as part of a balanced diet, especially when paired with nutritious foods. For additional fiber and nutrients, consider replacing part of the white flour with whole-wheat flour.
Serve a slice alongside eggs, vegetables, soup, or a protein-rich meal rather than viewing bread as something that must be avoided. The pleasure of baking and eating fresh bread can be part of a balanced approach to enjoying food—simple ingredients, mindful portions, and plenty of homemade goodness.