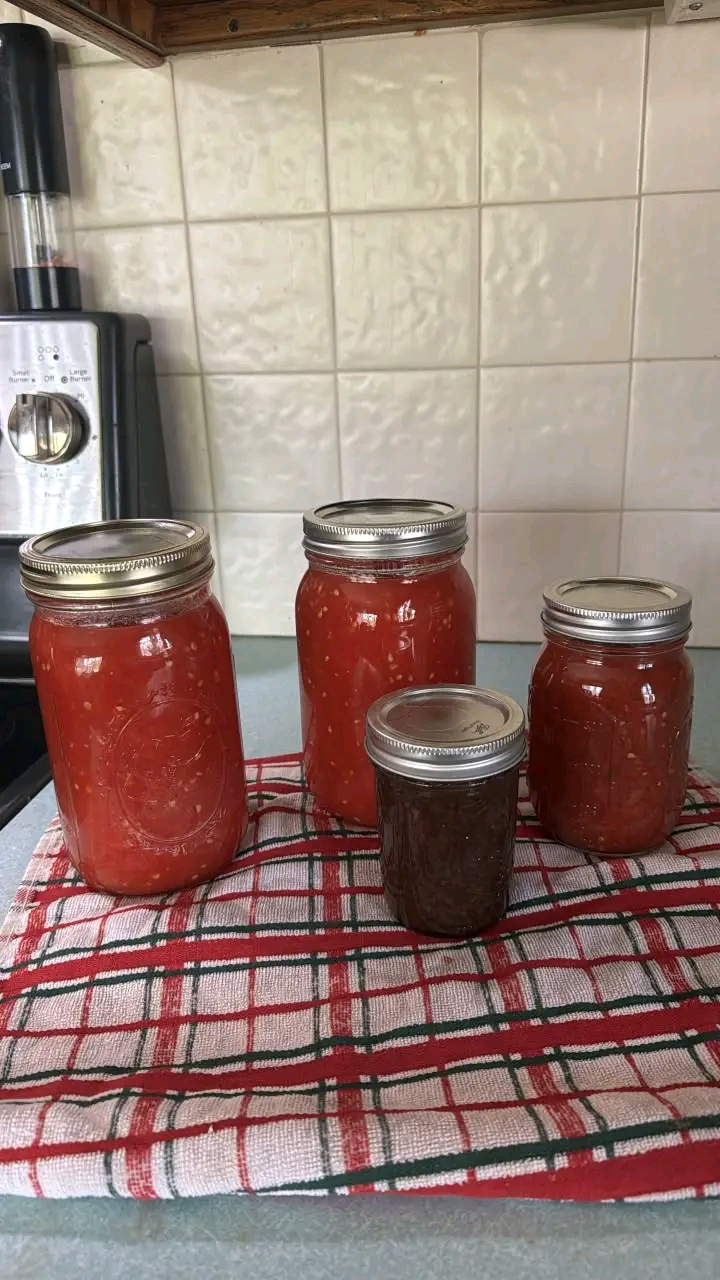
Troubleshooting Home Canning: Why Jars May Not Seal
Introduction
Successfully sealing canning jars is one of the most important steps in safe home food preservation. While it can be frustrating to find a few jars that haven’t sealed after processing, it’s a common issue even for experienced home canners. Fortunately, understanding the most common causes of seal failures can help improve future batches and reduce food waste.
Origin
Home canning has been used for over two centuries as a reliable method of preserving fruits, vegetables, jams, sauces, and pickles. Modern canning techniques have evolved with improved equipment and scientifically tested safety guidelines, making proper sealing an essential part of successful food preservation.
Cultural Significance
For many families, canning is a treasured tradition passed down through generations. It preserves seasonal harvests, family recipes, and memories while providing homemade foods throughout the year. Learning proper canning practices helps ensure these traditions continue safely for future generations.
Ingredients
Typical Supplies for Safe Water-Bath Canning
Sterilized canning jars
New canning lids
Canning screw bands (rings)
Prepared hot food
Clean water for the water bath
White vinegar (for cleaning jar rims if needed)
Clean damp cloth or paper towel
Optional Additions
Magnetic lid lifter
Jar funnel
Bubble remover or plastic spatula
Jar lifter
Headspace measuring tool
Clean kitchen towels
Cooling rack
Tips for Success
Inspect every jar rim for tiny chips or cracks before filling.
Leave the correct headspace recommended for your recipe.
Remove trapped air bubbles before applying the lid.
Wipe jar rims with a clean, damp cloth unless greasy residue requires vinegar.
Tighten bands only fingertip tight—do not overtighten.
Ensure the water covers the jars by at least 1–2 inches during processing.
Start timing only after the water reaches a full rolling boil.
Let jars rest in the canner for about 5 minutes after processing before removing them.
Allow jars to cool undisturbed for 12–24 hours without tightening the bands.
Instructions
1. Prepare the food according to a tested canning recipe.
2. Fill hot, clean jars, leaving the recommended headspace.
3. Remove air bubbles and adjust the headspace if needed.
4. Wipe the rims clean.
5. Center a new lid on each jar.
6. Apply the screw band until fingertip tight.
7. Place jars into a boiling water bath with at least 1–2 inches of water covering them.
8. Process for the full time specified in the tested recipe, adjusting for altitude if necessary.
9. Turn off the heat and let the jars sit in the canner for about 5 minutes.
10. Remove the jars and let them cool undisturbed for 12–24 hours.
11. Check each seal by pressing the center of the lid. A properly sealed lid should not flex up and down.
Description
A properly sealed jar has a firm, slightly concave lid that remains secure after cooling. Seal failures can occur for several reasons, including damaged jar rims, incorrect headspace, food residue on the rim, overtightened or loose bands, insufficient processing time, or using lids that did not seal properly. Careful attention to each step greatly improves the success rate.
Nutritional Information
Since this guide focuses on canning techniques rather than a specific food, nutritional information varies depending on the recipe being preserved.
Conclusion
Occasional seal failures happen to nearly every home canner, but repeated problems usually indicate that one or more steps in the process need adjustment. Reviewing your technique carefully and following current, tested canning guidelines can significantly improve sealing success.
Recommendation
If a jar does not seal within 24 hours, you generally have two safe options:
Reprocess within 24 hours: Remove the lid, check the jar rim for nicks or chips, replace with a new lid, refill if necessary to maintain proper headspace, and process again for the full recommended time.
Refrigerate the unsealed jar: Use the contents within the recommended storage time for that food instead of shelf-storing it.
A few additional thoughts based on your process:
Washing lids is fine, but most modern canning lids do not need to be simmered or sterilized before use—follow the manufacturer’s directions.
Be sure you are processing for the time specified in a tested recipe, as 10–15 minutes may not be long enough for many foods.
Also make sure you’re adjusting processing time for your altitude, if required.
If seal failures happen often, inspect your jars carefully for tiny rim chips and consider whether the lids or bands may be worn or from a problematic batch.
Embracing Healthful Indulgence
Home canning is a rewarding way to enjoy seasonal produce and homemade recipes throughout the year. By combining quality ingredients with safe, research-based preservation methods, you can stock your pantry with flavorful foods while preserving family traditions. A little extra attention to sealing techniques helps ensure every jar is both delicious and safely stored for months to come.