Here is a comprehensive guide to making rich, creamy homemade ice cream, complete with history, nutrition, and all the details you asked for.
The Grand Recipe: Classic No-Churn Vanilla Ice Cream
Introduction
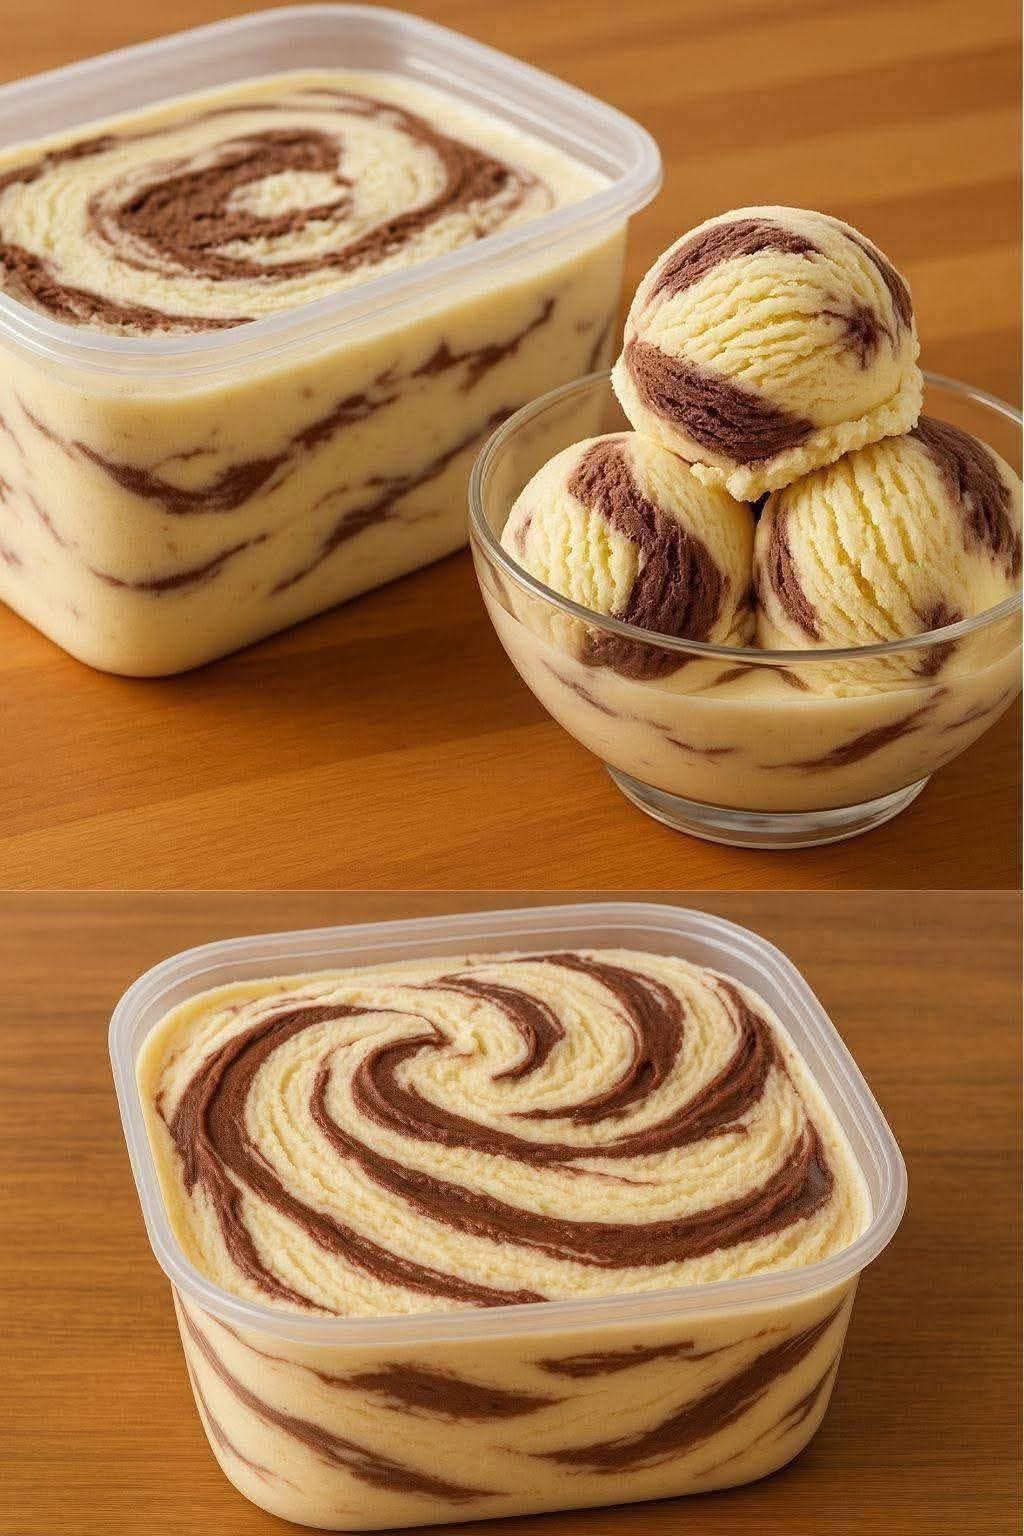
There is something magical about homemade ice cream. Unlike many store-bought varieties that contain stabilizers and artificial flavors, this version delivers pure, natural taste with an exceptionally smooth, creamy texture. What makes this recipe remarkable is that it requires no expensive ice cream maker—just a hand mixer or blender and your freezer. Using the scientifically proven combination of sweetened condensed milk and whipped heavy cream, this method creates tiny ice crystals and incorporates just the right amount of air, resulting in a luxurious dessert that rivals premium brands.
History of Ice Cream
The story of ice cream begins approximately 4,000 years ago in ancient China, where the first frozen desserts were created. The Chinese developed a paste-like ice milk made from overcooked rice, spices, milk, and snow packed hard to solidify it. Because milk was scarce, only nobility could afford this delicacy.
In 62 AD, Roman Emperor Nero reportedly sent teams of slaves to the Apennine mountains to collect snow, which he then flavored with nectar, fruit pulp, and honey. During the 1200s, Marco Polo brought a prized recipe for a chilled milk dessert from China to Venice, Italy, spreading the frozen phenomenon throughout Europe.
A crucial breakthrough came in the late 1500s when a Spanish physician in Rome discovered that adding salt to ice caused a chemical reaction creating extreme cold—this salt-ice mixture could freeze ice cream much more quickly. The first ice cream parlor opened in New York in 1776, and today Americans consume an average of 15 quarts per person annually, making ice cream America’s favorite dessert.
Benefits of Homemade Ice Cream
Making ice cream at home offers several advantages over commercial products. You have complete control over ingredients, allowing you to avoid artificial preservatives, high-fructose corn syrup, and unnecessary additives. Homemade versions can be customized for dietary needs—using alternative milks, reducing sugar, or adding nutrient-dense mix-ins like nuts and fresh fruit.
When using quality ingredients like real vanilla extract and fresh cream, you’ll get beneficial nutrients including calcium for bone health and protein for muscle maintenance. The process itself offers therapeutic benefits too—the simple act of creating something from scratch provides satisfaction and stress relief that store-bought treats cannot match.
Ingredients
Quantity Ingredient
2 cups (1 pint) Heavy cream (chilled)
1 can (14 oz) Sweetened condensed milk
2 tsp Pure vanilla extract
¼ tsp Sea salt
Optional Add-ins:
· ½ cup cocoa powder (for chocolate version)
· 100g melted dark chocolate
· Crushed cookies, nuts, or fruit
· Caramel or peanut butter swirls
Methods (Three Approaches)
Method 1: No-Churn (Recommended)
1. Chill your mixing bowl in the refrigerator for 15 minutes
2. Pour heavy cream into the chilled bowl and whip until soft peaks form
3. In a separate bowl, combine sweetened condensed milk, vanilla extract, and salt
4. Gently fold the whipped cream into the condensed milk mixture using a spatula—be slow and deliberate to maintain air bubbles
5. Add any mix-ins at this stage
6. Pour into a freezer-safe container, cover, and freeze for 5 hours minimum
Method 2: Using an Ice Cream Maker
1. Freeze your ice cream maker bowl overnight
2. Blend all ingredients on low speed until combined
3. Pour into the frozen bowl and churn according to manufacturer instructions (typically 20-30 minutes)
4. Transfer to a container and freeze for 2 additional hours for scoopable consistency
Method 3: Dry Ice Method (Fastest)
1. Combine milk, sugar, cream, dry milk powder, vanilla, and salt in a large bowl
2. Wearing thick gloves, carefully add dry ice while stirring continuously
3. Continue stirring until mixture thickens to soft serve consistency
4. Serve immediately
Formation (The Science Behind Perfect Ice Cream)
The creamy texture of ice cream depends on three scientific principles. First, fat content matters—heavy cream contains at least 36% milk fat, which coats ice crystals and prevents them from growing too large. Second, air incorporation happens during whipping or churning, creating millions of tiny air bubbles that make ice cream scoopable rather than solid. Third, sugar acts as an antifreeze, lowering the freezing point so the mixture remains soft at freezer temperatures.
When you whip cream, you’re mechanically trapping air. The fat globules in cream surround these air bubbles, stabilizing them. Sweetened condensed milk provides concentrated milk solids and sugar without adding excess water that would create large, crunchy ice crystals. This is why the no-churn method works so well—you’re creating the emulsion structure before freezing rather than during the process.
Nutrition Information
Per average serving (½ cup / 39g):
Nutrient Amount % Daily Value*
Calories 108 5%
Carbohydrates 12.7g 4%
Protein 1.1g 2%
Fat 1.1g 1%
Calcium 38.2mg 3%
Sodium 15.8mg 1%
\*Percent Daily Values based on a 2,000 calorie diet
Dietitian’s Notes: This dessert raises blood sugar quickly due to its sugar content. To balance the metabolic effect, consider adding fiber-rich fruits or nuts as toppings. For a lower-calorie alternative, try the banana-based version using frozen bananas blended with almond milk and honey.
Who Loves This Recipe
This homemade ice cream appeals to nearly everyone. Busy parents appreciate the simple, no-fuss preparation and the ability to involve children in the process. Health-conscious individuals love controlling sugar levels and avoiding artificial ingredients. Budget-savvy cooks note that homemade costs less than premium store brands. Bakers enjoy customizing flavors to complement their pies, cakes, and cobblers. College students find the no-equipment approach perfect for dorm life.
For those following special diets, modifications are simple—substitute coconut cream for dairy-free version, use sugar-free condensed milk for diabetics, or blend frozen bananas with cocoa powder for a vegan alternative that requires no added sugar.
Pro Tips for Best Results
· Use full-fat ingredients—low-fat alternatives won’t whip properly and create icy texture
· Don’t skip the chilling time—8 hours in the freezer gives perfect scoopable consistency
· Prevent ice crystals—press parchment paper directly onto the surface before freezing
· Warm your scoop—run it under hot water before scooping to glide through dense ice cream
· Add mix-ins last—fold them in gently to maintain the airy structure
Fun Variations to Try
Variation Add to Base
Chocolate ½ cup cocoa powder + 100g melted dark chocolate
Butter-Dipped Freeze in cone, drizzle with melted clarified butter + flaky salt
Coffee 1 tbsp instant espresso powder + fudge swirls
Mexican Hot Chocolate ¼ tsp cayenne pepper + cinnamon
Mint Chocolate Chip ½ tsp peppermint extract + mini chocolate chips
Banana Replace condensed milk with 3 mashed very ripe bananas
Conclusion
Homemade ice cream represents the perfect marriage of simple ingredients and scientific principles. From its ancient origins in Chinese palaces to modern no-churn kitchen methods, frozen desserts have brought joy to countless generations. This recipe proves that creating premium ice cream requires neither expensive equipment nor professional training—just quality ingredients, patience, and the desire to create something wonderful from scratch.
Whether you serve it in a classic cone with butter dipping, layered into a sundae, or simply scooped into a bowl, this homemade vanilla ice cream delivers pure, unfiltered happiness. The compliments you’ll receive make the minimal effort worthwhile, and once you taste the difference, you may never return to store-bought cartons again.
Enjoy your homemade creation—you’ve earned every creamy, delicious bite!