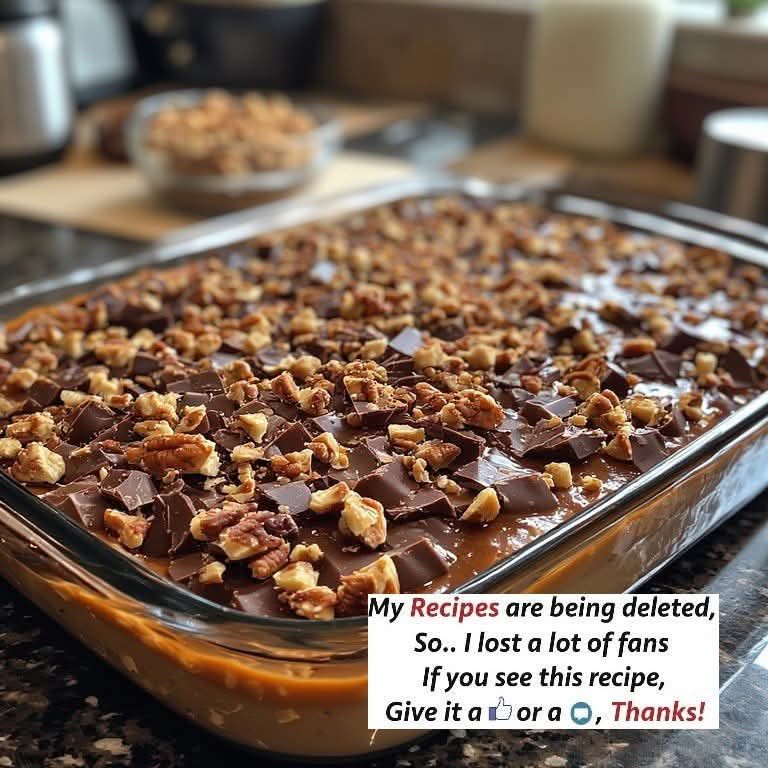
Here is a comprehensive guide to making Irresistible Caramel Chocolate Crunch Bars, covering everything from their rich history to their nutritional profile. This recipe delivers the perfect trio of textures: a crunchy cereal base, a soft and chewy caramel center, and a smooth chocolate topping .
The History: A Crunchy Invention
The concept of the “Crunch Bar” dates back to 1938 in Fulton, New York. A chocolatier named Maurice Michaud began experimenting by adding crisped rice to milk chocolate, creating a bar that was both creamy and crunchy . This innovation gave birth to the Nestle Crunch Bar, which became a global icon. The recipe below is a gourmet, layered homage to that classic candy bar, adding a rich, buttery caramel layer to the crispy chocolate base .
Benefits of Homemade Bars
While these are a decadent treat, making them at home offers several advantages:
1. No Artificial Additives: You control the ingredients, avoiding preservatives and artificial flavors found in store-bought candy .
2. Customizable: You can easily adjust the salt level, swap out sugars, or add nuts to suit your dietary needs (e.g., gluten-free or vegan options) .
3. Mental Well-being: The process of making caramel from scratch can be a therapeutic and rewarding experience .
The Lovers
These bars are adored by home bakers who love no-bake recipes, chocolate purists who enjoy deep cocoa flavors, and texture seekers who crave the “snap” of a crunchy base against soft caramel . They are a hit at potlucks, bake sales, and holiday dessert tables.
The Recipe: Irresistible Caramel Chocolate Crunch Bars
This recipe yields a 9×13-inch pan of bars, serving approximately 24 people.
Preparation
· Prep time: 20 minutes
· Chill time: 2+ hours
· Total time: 2 hours 20 minutes
· Equipment: 9×13-inch baking pan, parchment paper, medium saucepan, microwave-safe bowls.
Ingredients
For the Crunchy Base:
· 4 cups crispy rice cereal
· 1 cup rolled oats (old-fashioned)
· ½ cup packed brown sugar
· ½ cup light corn syrup
· ½ cup creamy peanut butter (or almond butter for variation)
· 1 tsp vanilla extract
For the Caramel Layer:
· 1 cup unsalted butter (2 sticks)
· 1 cup packed brown sugar
· 1 cup light corn syrup
· 1 can (14 oz) sweetened condensed milk
· Pinch of salt
For the Chocolate Topping:
· 2 cups semi-sweet chocolate chips
· 1 tbsp coconut oil (or vegetable shortening)
· Flaky sea salt (optional, for garnish)
Method: Step-by-Step Instructions
Step 1: Prepare the Pan
Line a 9×13-inch baking pan with parchment paper, leaving an overhang on two opposite sides. This creates “handles” to lift the bars out easily later .
Step 2: Make the Crunchy Base
In a large saucepan over medium heat, combine the brown sugar, corn syrup, and peanut butter. Stir continuously until the mixture is melted and smooth. Remove from heat, stir in the vanilla, then fold in the crispy rice cereal and rolled oats until fully coated.
Step 3: Press the Base
Transfer the mixture to the prepared pan. Press it down firmly and evenly using the back of a spoon or a measuring cup. Place the pan in the refrigerator to chill while you make the caramel .
Step 4: Cook the Caramel
In a separate medium saucepan, melt the butter over medium heat. Stir in the brown sugar, corn syrup, sweetened condensed milk, and salt. Bring the mixture to a gentle boil, stirring constantly. Pro Tip: Stirring constantly prevents scorching. Reduce heat to low and let it simmer for 5–7 minutes until it thickens slightly and turns a deep amber color .
Step 5: Assemble the Middle Layer
Remove the pan from the fridge. Carefully pour the hot caramel over the chilled cereal base. Spread it evenly with a spatula. Let it cool on the counter for about 30 minutes.
Step 6: The Chocolate Topping
Once the caramel has cooled slightly, melt the chocolate chips and coconut oil in the microwave. Heat in 30-second bursts, stirring between each burst, until smooth .
Step 7: Final Assembly
Pour the melted chocolate over the caramel layer. Spread into an even layer. If desired, sprinkle with flaky sea salt to enhance the sweetness and add a gourmet touch .
Step 8: Set and Cut
Refrigerate the pan for at least 2 hours, or until the chocolate is completely firm. Once set, lift the bars out using the parchment handles. Place on a cutting board and slice into squares. For clean cuts, run your knife under hot water and wipe it dry between slices .
Methods for Success (Pro Tips)
· Toasting Oats: For a nuttier flavor, spread the rolled oats on a baking sheet and toast at 350°F (175°C) for 5–7 minutes before adding them to the base .
· Caramel Temperature: If you have a candy thermometer, cook the caramel to the “soft ball” stage (235°F–240°F or 112°C–115°C) for a perfectly chewy, not hard, texture .
· Storage: Store bars in an airtight container in the refrigerator for up to 1 week, or freeze for up to 3 months .
Nutritional Information (Per Serving)
Approximate values for 1 bar (based on 24 servings):
Nutrient Amount % Daily Value (approx)
Calories ~320-364 16%
Total Fat 16g – 20g 25%
Saturated Fat 10g – 14g 60%
Carbohydrates 45g – 50g 16%
Sugar ~25g N/A
Protein 5g – 7g 10%
Note: Nutritional values are estimates based on ingredient composition .
Conclusion
These Irresistible Caramel Chocolate Crunch Bars are a love letter to texture and flavor. By combining the historical appeal of the classic crunch bar with a homemade, gooey caramel center, you create a dessert that is far superior to anything store-bought. Whether you are a lover of no-bake recipes or a fan of retro candy, these bars are guaranteed to satisfy your sweet tooth . Enjoy the crunch