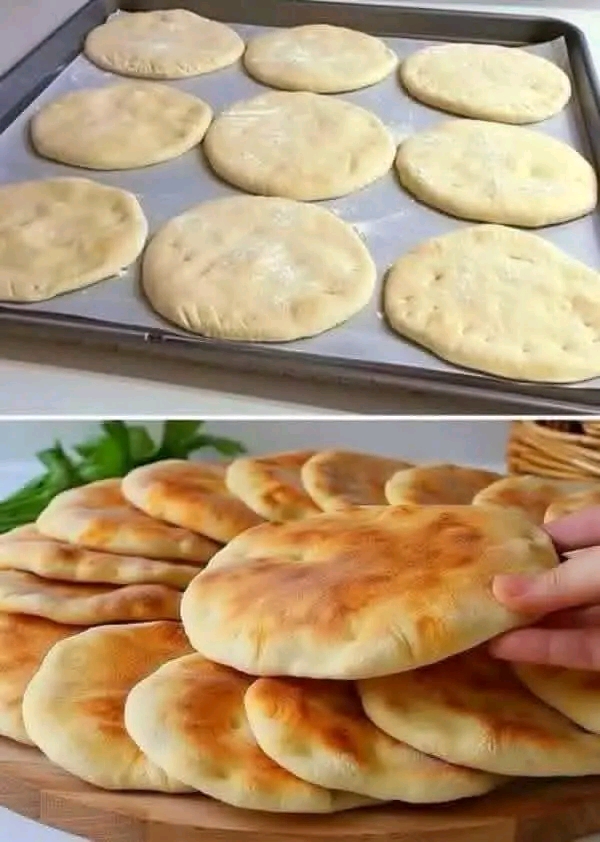
No-Knead, No-Egg, No-Butter Homemade Bread
Introduction
This simple homemade bread is a wonderful option when you want fresh, comforting bread without complicated techniques or expensive ingredients. There is no kneading, no eggs, and no butter required. With just a handful of pantry staples and a little patience, you can make a soft, fragrant loaf that is perfect for everyday meals.
Origin
No-knead bread became especially popular as a practical home-baking method because it eliminates the need for extensive kneading. The technique relies on a wetter dough and fermentation time to develop structure and flavor naturally. Similar simple yeast breads have long been made in homes around the world using inexpensive staples such as flour, yeast, water, and salt.
Cultural Significance
Bread is one of the world’s most universal comfort foods. From European country loaves to North African homemade breads, simple doughs have traditionally provided an affordable way to feed families. Recipes like this one celebrate that tradition by keeping the ingredient list uncomplicated while producing something warm and satisfying.
Ingredients Quantity
Makes 1 large loaf
4 cups (500 g) all-purpose flour
2 teaspoons (7 g) instant or active dry yeast
1½ teaspoons salt
1 teaspoon sugar, optional, to help encourage yeast activity
1¾ cups (420 ml) warm water, approximately
1 tablespoon olive oil, optional, for a slightly softer crumb
Extra flour or oil for shaping and the baking vessel
Optional Additions
For a different flavor, you can add:
1–2 teaspoons dried oregano or Italian herbs
1 teaspoon garlic powder
2 tablespoons sesame or sunflower seeds
1 tablespoon flaxseed
A handful of grated cheese
Chopped olives or herbs
A sprinkle of sesame seeds on top
Tips for Success
Don’t make the water too hot. Lukewarm water is ideal; very hot water can damage the yeast.
Expect a sticky dough. No-knead dough is usually much wetter and softer than traditional bread dough.
Give it enough fermentation time. The resting period develops flavor and helps create a lighter texture.
Avoid adding too much flour. Excess flour can make the finished bread dense.
Use a covered baking vessel if possible. A Dutch oven or heavy oven-safe pot helps trap steam and encourages a crisp crust.
Let the loaf cool before slicing so the crumb can finish setting.
Instructions
1. In a large bowl, combine the flour, yeast, salt, and optional sugar.
2. Gradually pour in the warm water while stirring with a wooden spoon or spatula.
3. Mix until all the flour is hydrated and a sticky, shaggy dough forms. Do not knead.
4. Cover the bowl tightly and let the dough rise in a warm, draft-free place for about 1½–2 hours, or until noticeably doubled in size.
5. Lightly flour your work surface and gently turn out the dough. Fold it over itself a few times to help form a rough round loaf. Avoid vigorous kneading.
6. Place the dough on parchment paper or into a lightly greased baking vessel. Cover and let it rest for another 20–30 minutes.
7. Meanwhile, preheat the oven to 230°C (450°F). If using a Dutch oven, preheat it as well.
8. Carefully place the dough into the hot baking vessel. Make a shallow slash across the top with a sharp knife if desired.
9. Cover and bake for 25–30 minutes.
10. Remove the lid and continue baking for another 10–15 minutes, until the crust is deeply golden.
11. Transfer the bread to a wire rack and allow it to cool for at least 30–45 minutes before slicing.
Description
The finished loaf has a beautifully crisp, golden crust and a soft, tender interior. Its rustic appearance makes it look like an artisan loaf, while the preparation remains remarkably simple. Serve it warm with soup, alongside eggs and vegetables, or simply toasted with olive oil.
Nutritional Information
Approximate per serving, assuming 10 servings and using the basic recipe:
Calories: 195–210
Carbohydrates: 39–42 g
Protein: 6–7 g
Fat: 1–2 g
Fiber: 1–2 g
Sodium: approximately 350–400 mg
Values vary depending on the exact flour, salt, and serving size used.
Conclusion
This no-knead bread proves that homemade bread doesn’t have to be complicated. With no eggs, no butter, and no special equipment required, it is an economical recipe that can easily become part of your regular baking routine.
Recommendation
Enjoy slices with soups, stews, roasted vegetables, cheese, or your favorite spreads. For the best texture, store the cooled loaf in a bread bag or airtight container and consume it within a couple of days. You can also slice and freeze it for longer storage.
Embracing Healthful Indulgence
Homemade bread gives you control over what goes into your food. This recipe contains no butter and no eggs, and you can adjust the salt and optional additions to suit your preferences. For a more fiber-rich version, replace part of the all-purpose flour with whole-wheat flour, adding a little extra water if the dough feels too dry.
Freshly baked bread can absolutely be part of a balanced eating pattern—especially when paired with protein, vegetables, healthy fats, or a nourishing soup.